Contrary to common belief, it is a myth that metal 3D printing machines are plug and play. It would be so easy if all you had to do was put powder in the machine, send the CAD file to the machine and print out the perfect part. One of the most overlooked sides of the machine set up is the laser parameters.
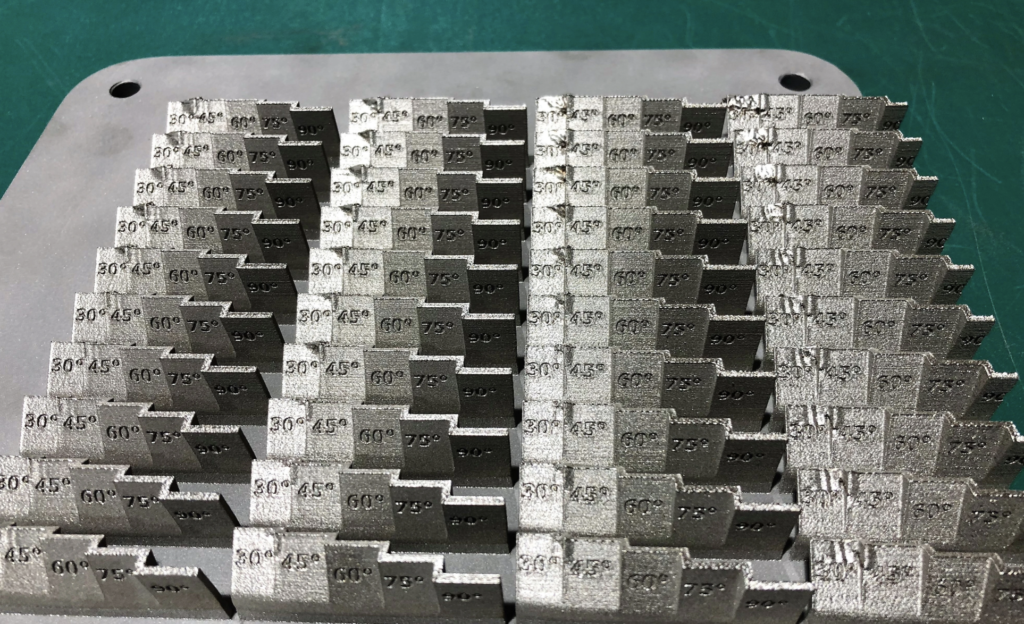
Before we start to print actual parts with a new material, we create an array of test bars with various parameters to find the best possible core strength. We try to keep our strength close to that of billet material. Once this is achieved we focus on the surface finish and can roughly gauge the surface finish from the test bars, however, we find running trial parts alongside more beneficial. This creates a real-life build plate scenario, typical of one we use on a day to day basis. We group a pod of test samples and test bars together and assign various parameters to each pod. From here we fine tune the direction we want to go with our surface parameters.
The parameters don’t necessarily stay the same all the time and are often a work in progress for us. After numerous trials over a period of time together with a few different builds, we can assess the parameters and work out what part of the parameter set needs more work. Whether its core strength, surface finish, up skin, down skin or support, it seems to be continuously evolving which ultimately leads to more successful builds and better looking parts.